PEMCO Multi-Factor Authentication (MFA) Setup
PEMCO is taking extra steps to make sure you are who you say you are when you sign in. This extra verification, also known as multi-factor authentication (MFA), is done through a combination of your username, your password, and a mobile device or phone. Find detailed instructions below.
Find answers to frequently asked questions about multi-factor authentication at PEMCO.
Watch a brief video demonstration of the MFA registration process.
Learn more about PEMCO's commitment to cyber security and our switch to multi-factor authentication.
Authentication Methods
Choose from three authentication methods. We recommend you set up two (a default and a backup)
Don't see your preferred method listed? See our FAQs
- Microsoft Authenticator app (recommended)*
You respond to a push notification - Phone call
You reply to a live automated phone call - Text message (SMS)
You reply to an automated text message
*PEMCO strongly encourages all agents to use the Microsoft Authenticator app as their default authentication method. It is lightweight, easiest to use, least disruptive to your workflow, and most secure of all options. Use of the app helps PEMCO provide quicker support if issues arise, plus it allows for account backup within the app, so when you get a new device it's quick and easy to restore your access.
Before you get started
Before starting the enrollment process, ensure you are working within your PEMCO account, not your agency or other Microsoft account:
- Navigate to https://MFA.Pemco.com
- Select the profile icon in the top-right of the window. You should be signed in with your PEMCO ID, in the format: John.Doe@pemcoagents.com
- If you are signed in with your PEMCO ID, proceed to MFA Setup Instructions below
- If you are signed in to a different Microsoft account, either sign out of that account, then sign in using your PEMCO ID.
If you will be working in multiple accounts on a regular basis, PEMCO recommends creating alternate browser profiles, so you will be able to remain signed into multiple accounts at once. Find instructions below. - Once signed in to your PEMCO account, proceeed to MFA Setup Instructions below
Creating an additional user profile within your web browser
Microsoft Edge:
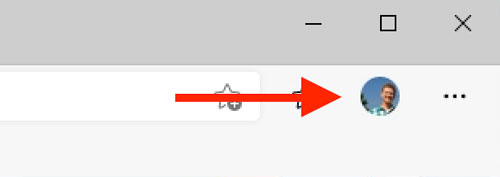
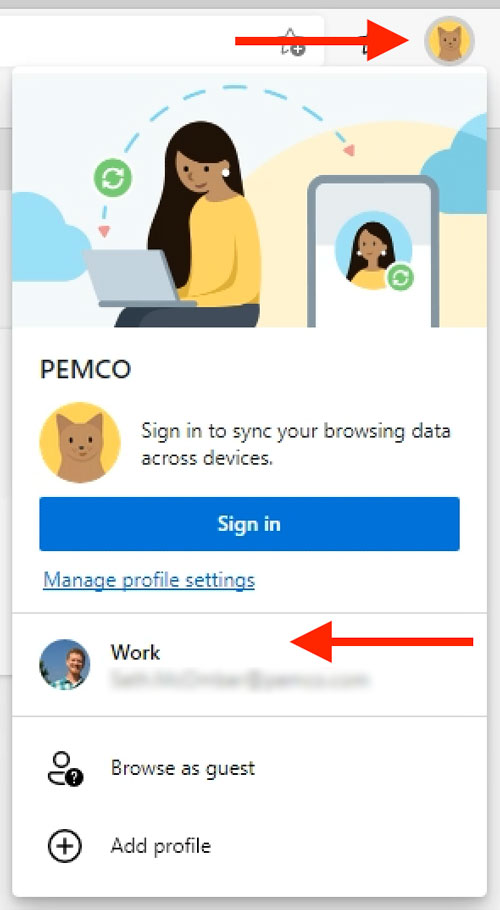
- Select the profile icon in the top-right corner (it may include a generic icon or your own customized image):
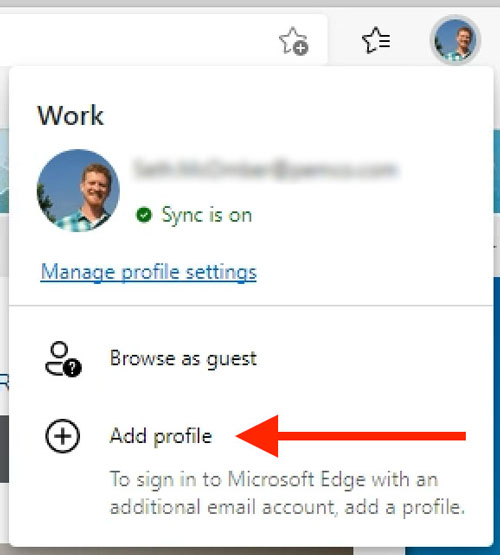
- Select + Add profile:
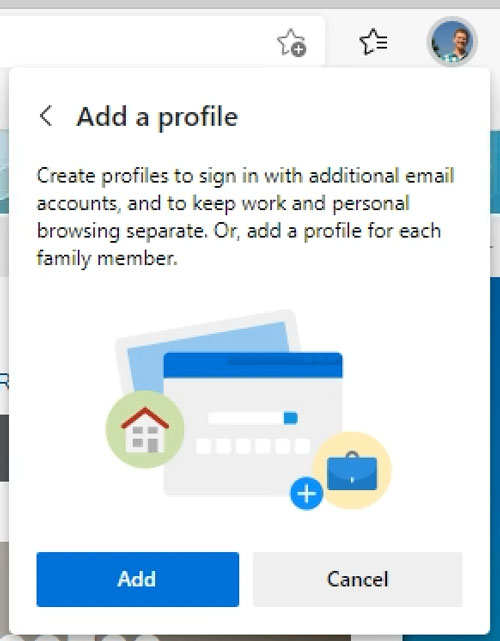
- In the next window, select Add:
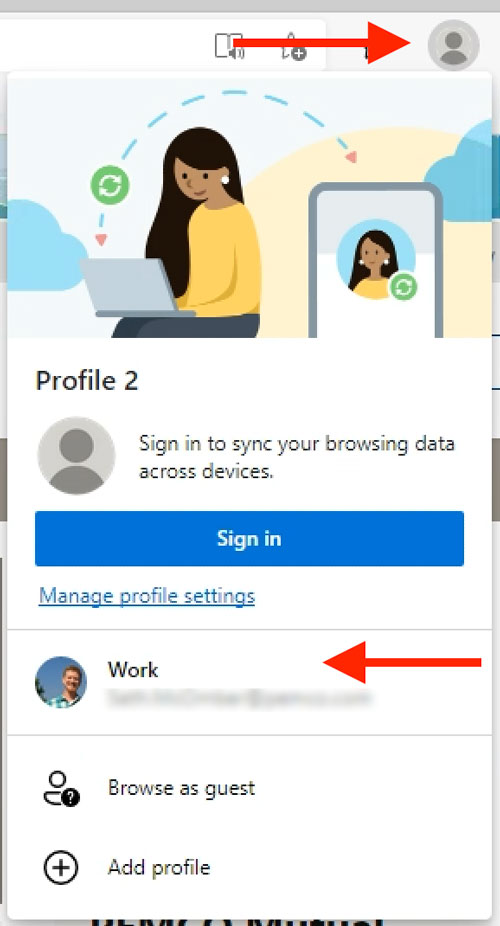
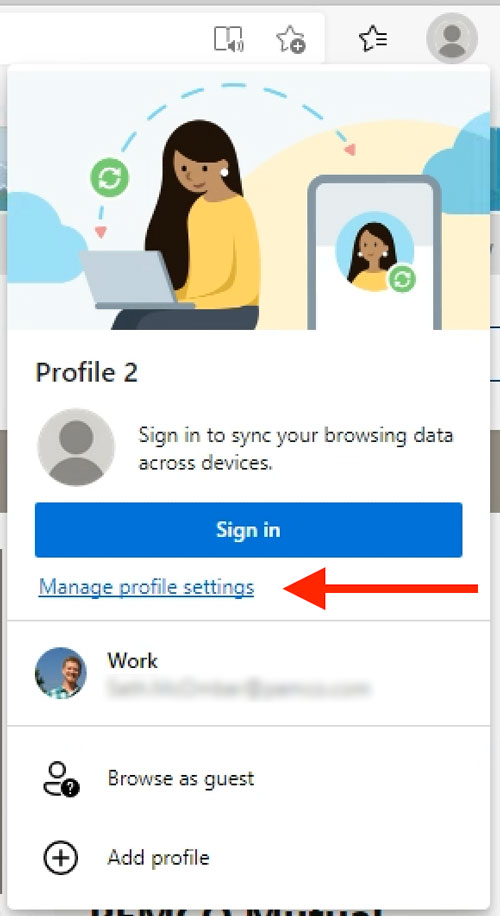
- Edge will open a new browser window within the new profile. Select the user icon again to switch between profiles:
- To give your new profile a name, select Manage profile settings:
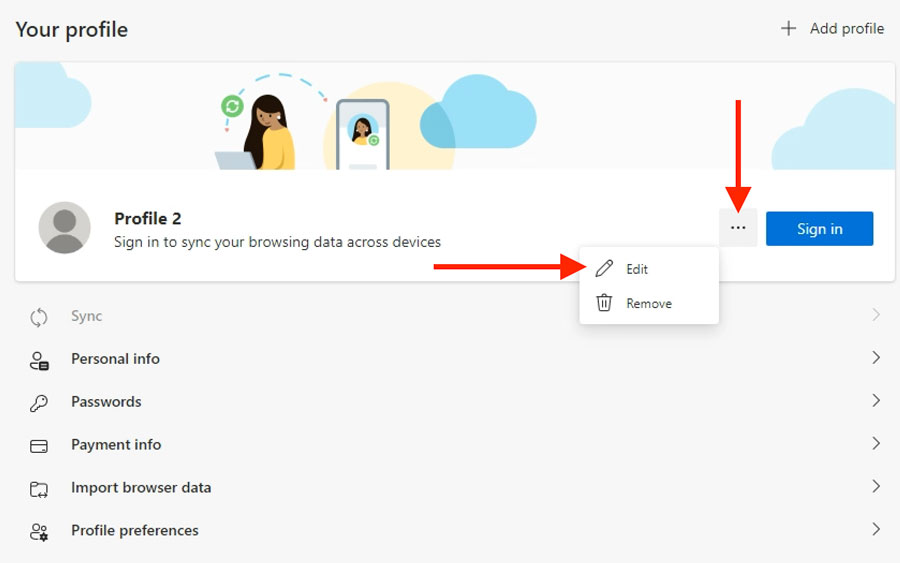
- Select the ellipses, then Edit:
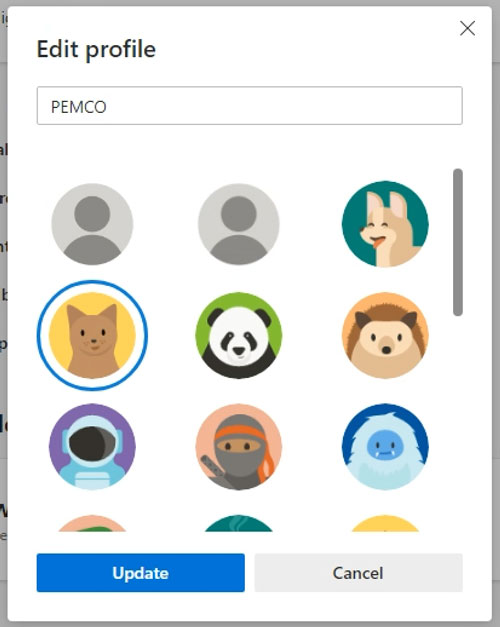
- Give your account a name and select an avatar if you like:
Note that this profile will be an alternate to your main Edge user profile. Naming suggestions will vary by user:- Do PEMCO tools tend to dominate your daily workflow?
You may want to leave your default profile configured for PEMCO and name this alternate profile after your agency. - Do your own agency tools tend to dominate your daily workflow?
It may be better to leave your default profile configured as-is and set this alternate profile to "PEMCO."
- Do PEMCO tools tend to dominate your daily workflow?
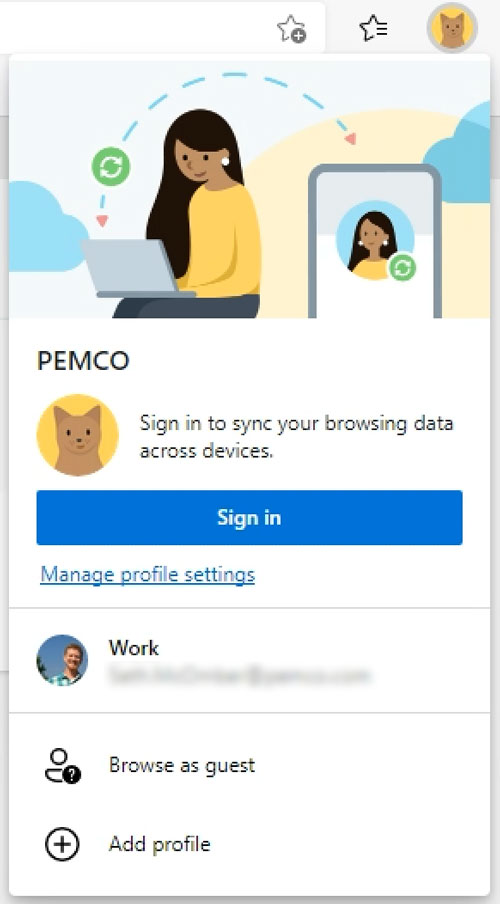
- Once you enter a name and select Update, you will see your new avatar and profile name:
- From this browser window you can visit the PEMCO site and sign in at https://pemcoins.sharepoint.com/sites/pemcoagents. Note that you may need to initially log out of your other Microsoft account in order to gain access. You will remain logged in to your other account within your other profile.
- You can now switch between profiles and no longer need to re-enter your credentials for either account. If you use a password manager, you can update within each profile and will not need to manually enter your credentials.
- To switch between profiles, simply select the user icon and choose the profile to open. A new browser window will open so you can work within both profiles at once:
Google Chrome:
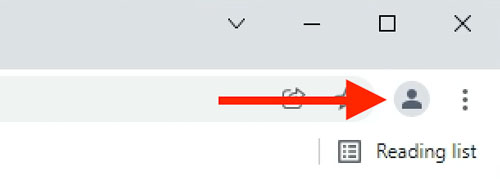
- Select the profile icon in the top-right corner (it may include a generic icon or your own customized image):
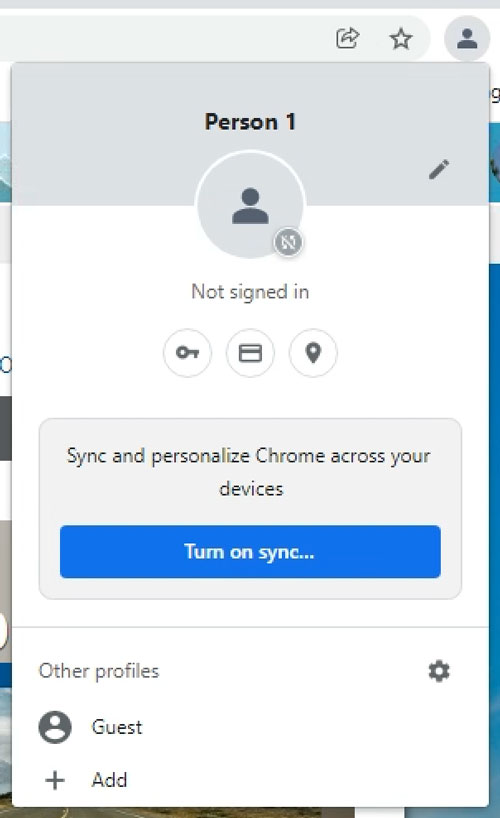
- Select + Add:
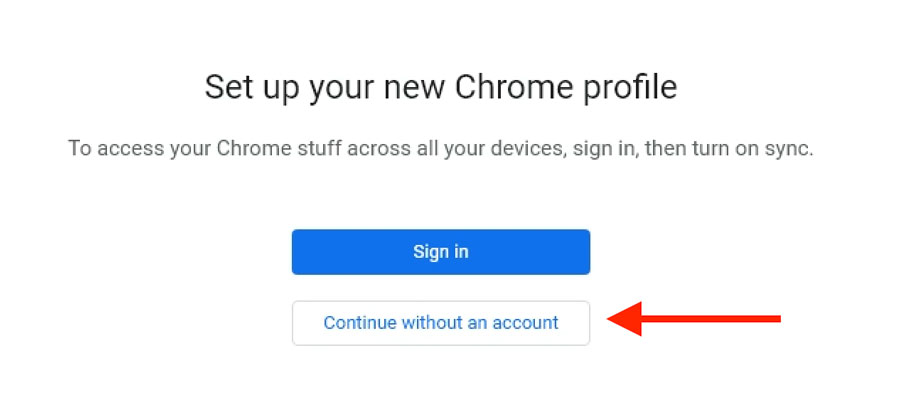
- In the popup window, select Continue without an account:
- Give your account a name and select a theme color if you like:
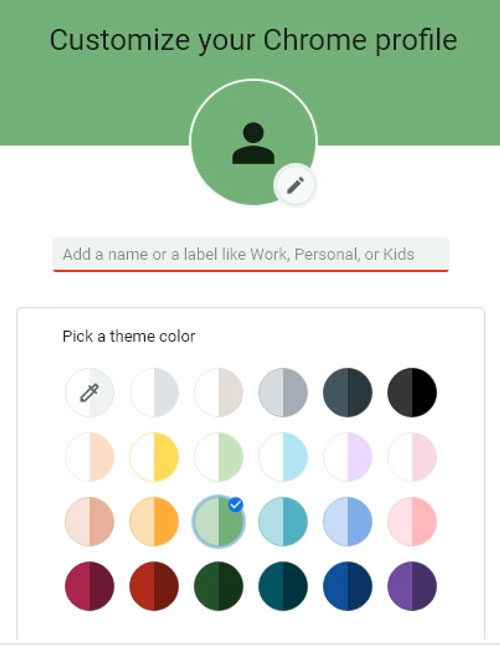
Note that this profile will be an alternate to your main Chrome user profile. Naming suggestions will vary by user:- Do PEMCO tools tend to dominate your daily workflow?
You may want to leave your default profile configured for PEMCO and name this alternate profile after your agency. - Do your own agency tools tend to dominate your daily workflow?
It may be better to leave your default profile configured as-is and set this alternate profile to "PEMCO."
- Do PEMCO tools tend to dominate your daily workflow?
- Once you enter a name and select Done, Chrome will open a new browser window within this profile. From this window you can visit the PEMCO site and sign in at https://pemcoins.sharepoint.com/sites/pemcoagents. Note that you may need to initially log out of your other Microsoft account in order to gain access. You will remain logged in to your other account within your other profile.
- You can now switch between profiles and no longer need to re-enter your credentials for either account. If you use a password manager, you can update within each profile and will not need to manually enter your credentials.
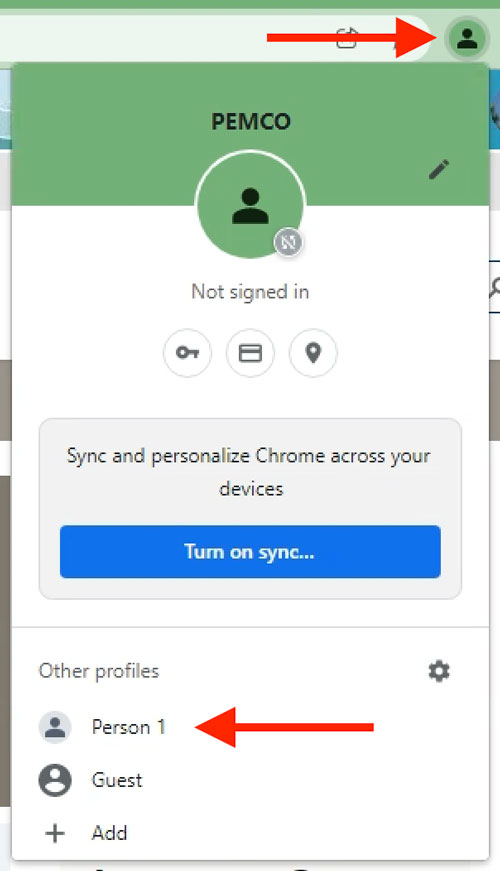
- To switch between profiles, simply select the user icon and choose the profile to open. A new browser window will open so you can work within both profiles at once:
MFA Setup Instructions
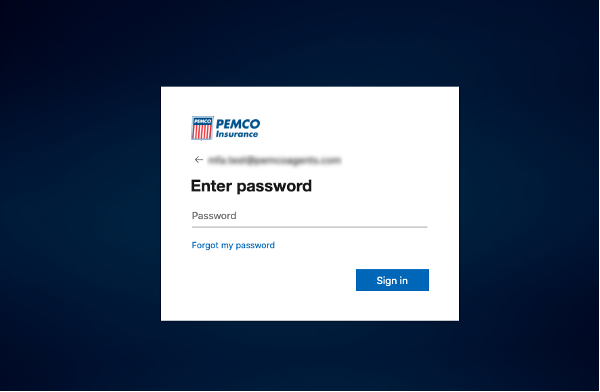
- Navigate to the PEMCO 365 account configuration page: https://mfa.pemco.com. You will be prompted to sign in with your PEMCO Agent username (included in the setup email; format: John.Doe@pemcoagents.com) and your PEMCO network password.
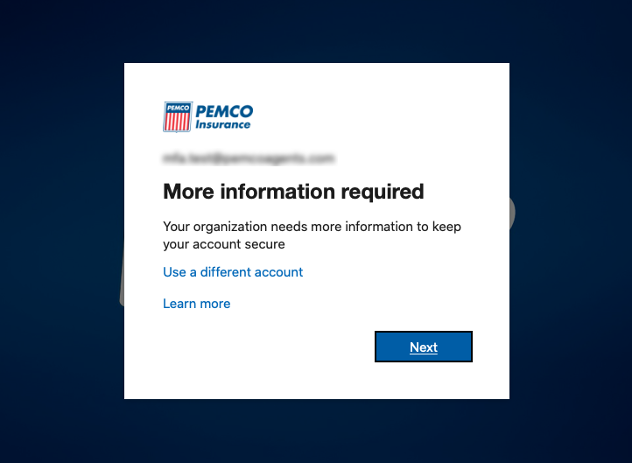
- Next, you will see the More information required prompt. Choose Next to continue.
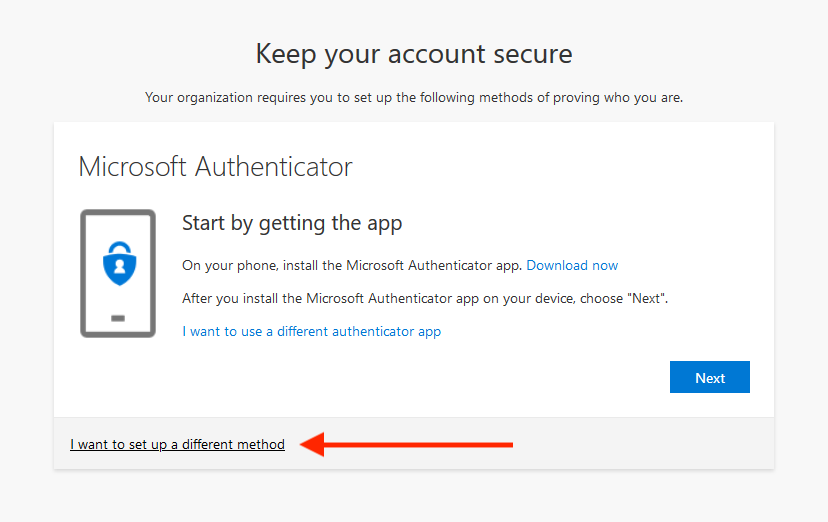
- Next, you will see the MFA registration screen.
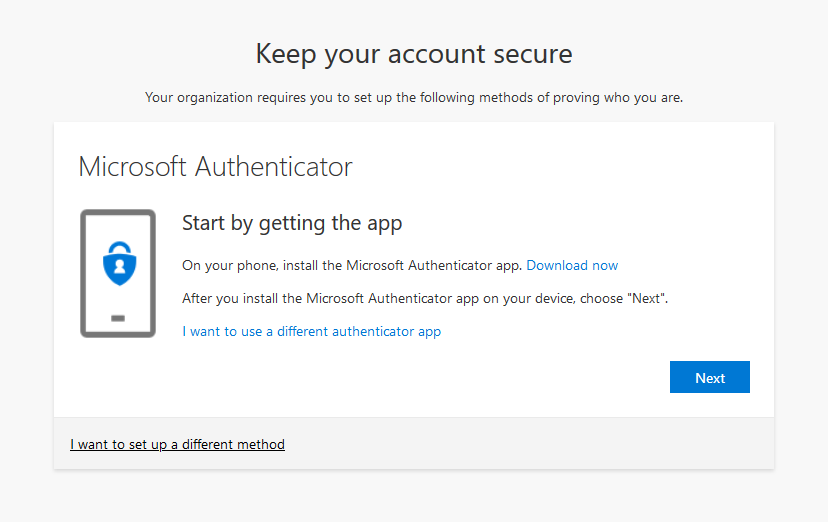
Continue below to set up for the Microsoft Authenticator app (recommended)
Microsoft Authenticator app setup
Note: To set up this method you will need your computer and phone. You cannot set up the app using just your phone.
- From the MFA registration screen, select Download now to download and install the Microsoft Authenticator app on your phone, and then select Next. If you already have the app installed, just selectNext and proceed to the next step.
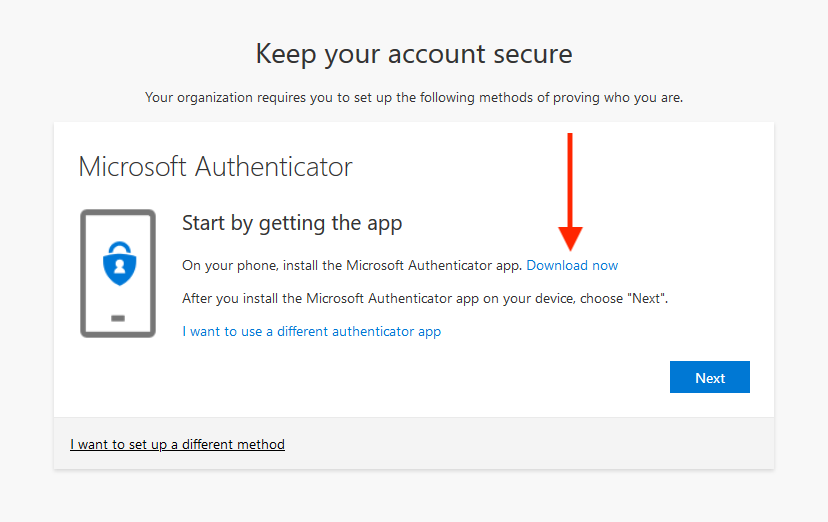
For more information about how to download and install the app, see Download and install the Microsoft Authenticator app. - Remain on the Set up your account window while you simultaneously set up the Microsoft Authenticator app on your phone.
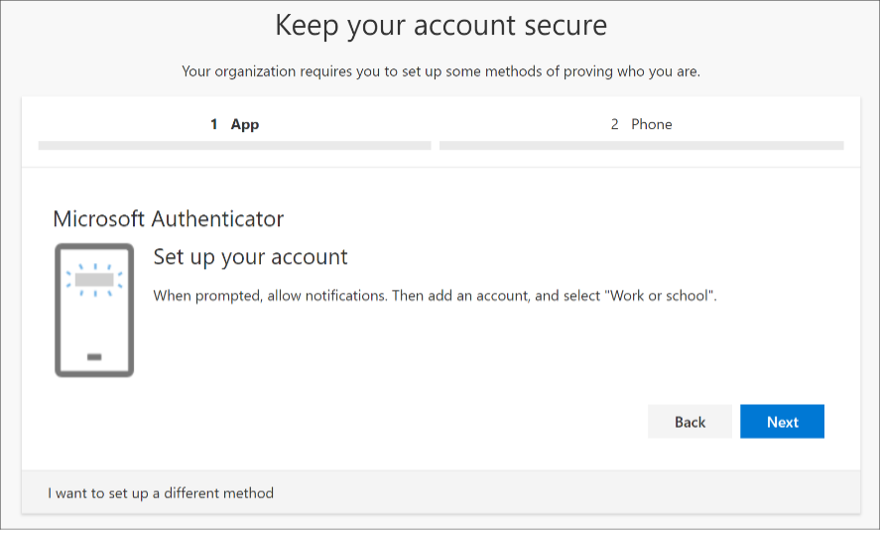
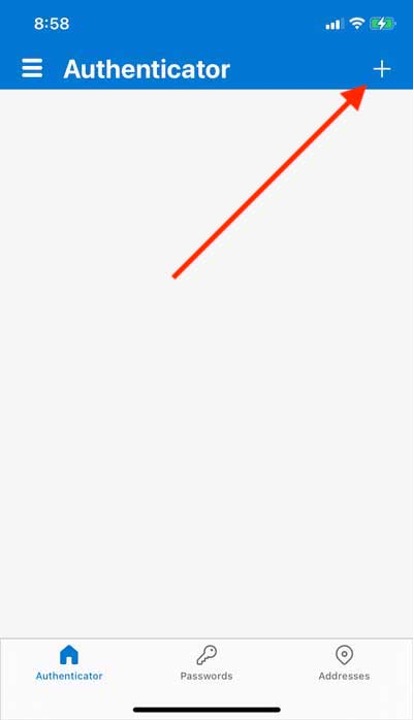
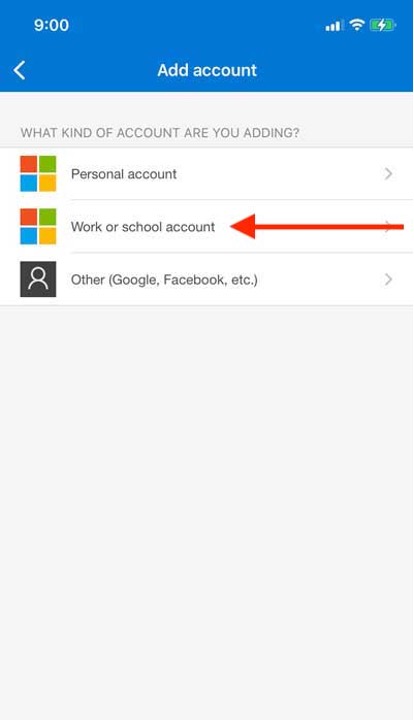
- Open the Microsoft Authenticator app on your device, select to allow notifications (if prompted), select Add account from the Plus (+) icon in the upper-right, and then select Work or school account.
NOTE: If this is the first time you're setting up the Microsoft Authenticator app, you might receive a prompt asking whether to allow the app to access your camera (iOS) or to allow the app to take pictures and record video (Android). You must select Allow so the authenticator app can access your camera to take a picture of the QR code in the next step. If you don't allow the camera, you can still set up the authenticator app, but you'll need to add the code information manually. (For information about how to add the code manually, see Manually add an account to the app.) - Return to the Set up your account window on your pc/laptop/tablet and then select Next. The Scan the QR code window appears.
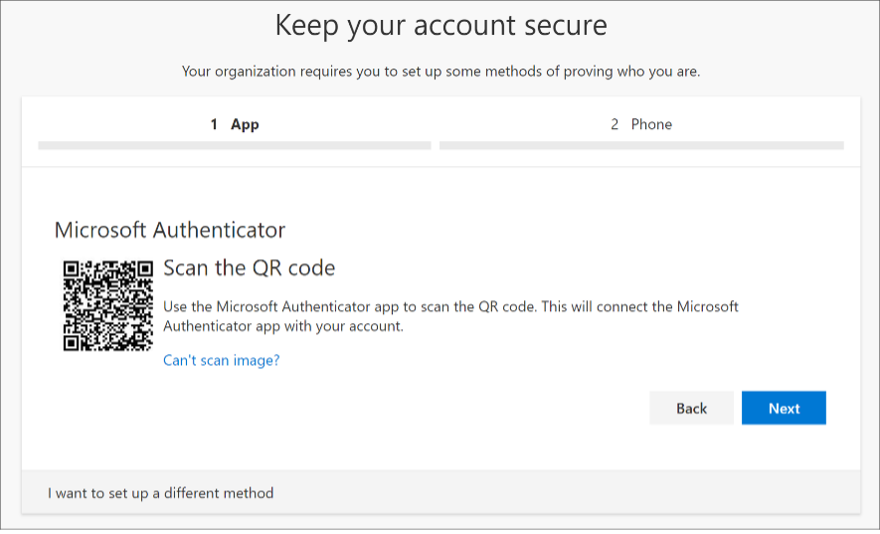
- Using your phone, scan the provided code with the Microsoft Authenticator app QR code reader, which appeared on your phone after you created your work or school account in Step 3 above.
The authenticator app should successfully add your work or school account without requiring any additional information from you. However, if the QR code reader can't read the code, you can select "Can't scan image" and manually enter the code and URL into the Microsoft Authenticator app. For more information about manually adding a code, Manually add an account to the app. - Select Next on the Scan the QR code window on your pc/laptop/tablet. A notification is sent to the Microsoft Authenticator app on your phone, to test your account.
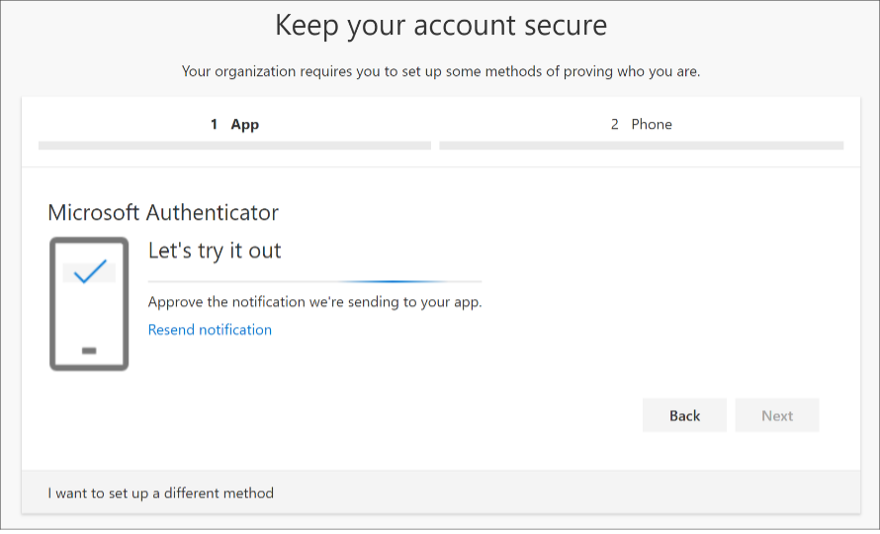
- Approve the notification in the Microsoft Authenticator app, and then select Next.
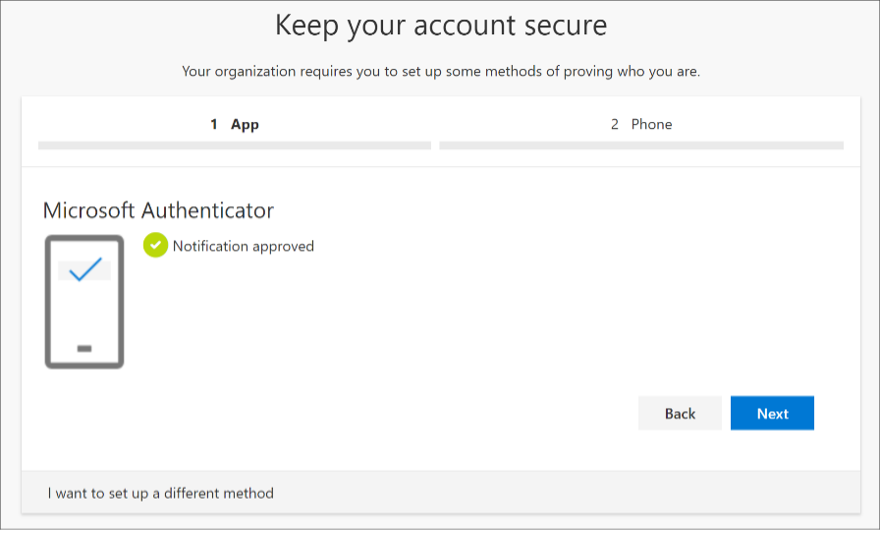
- All set! The Microsoft Authenticator app is now set up. Continue to the Phone/Text setup instructions to set up your backup authentication method.
Phone/Text setup
Already registered for MFA and adding phone/text as an alternate method? Skip ahead
Initial MFA registration using phone/text method
- From the MFA registration screen, select I want to set up a different method.
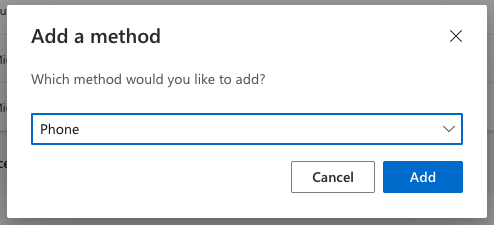
- Select Phone from the dropdown options, then click Add to proceed.
Add phone/text as secondary authentication method
Show me how to set up phone/text as primary method
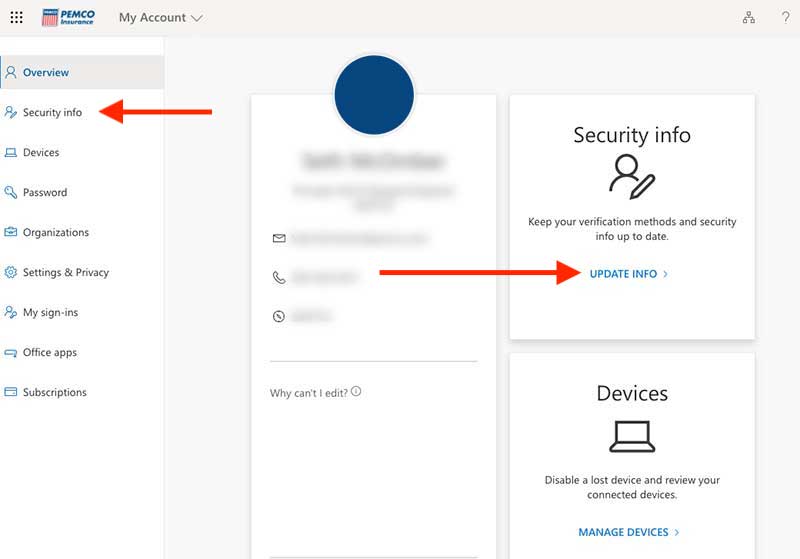
Be sure you're signed into your PEMCO account and navigate to your My Profile page (follow this link or select your profile image in the top-right corner and then View Account).
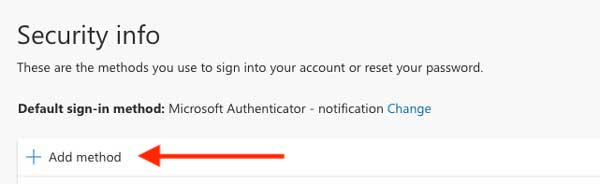
- Select Security info from the left navigation pane or from the link in the Security info block, and then select Add method from the Security info window.
- In the Add a method window, select Phone from the drop-down list, and then select Add.
- In the Phone set up window, choose whether you want to receive a text message or a phone call, and then select Next.
If setting up for text messages text messages, be sure to use a phone number for a device that can accept text messages.
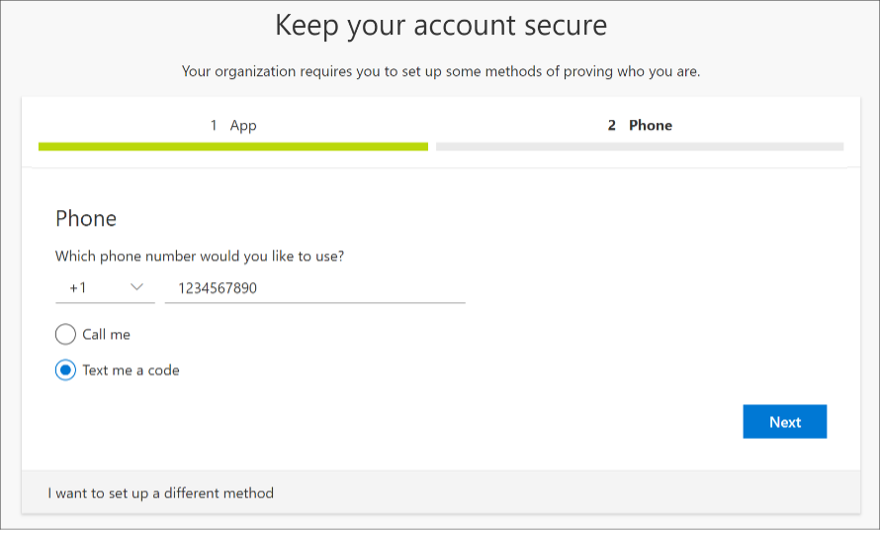
A text message is sent to your phone number. If would prefer to get a phone call, the process is the same, but you'll receive a phone call with instructions instead of a text message. - Enter the code provided by the text message sent to your phone, and then select Next.

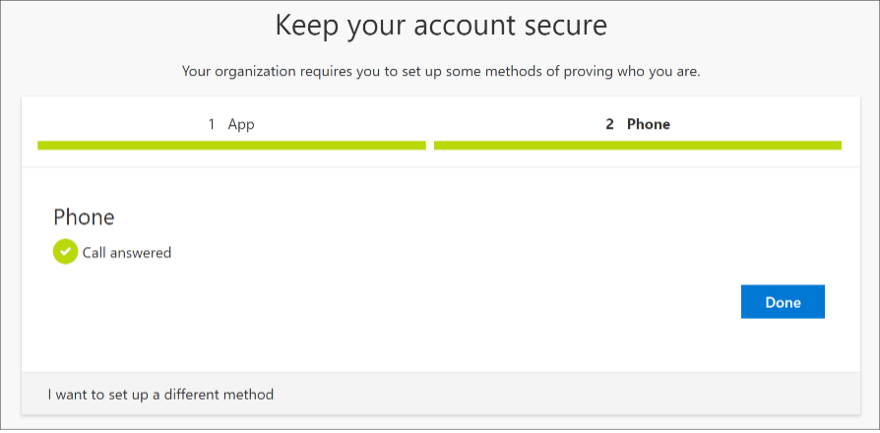
- Review the success notification, and then select Done.
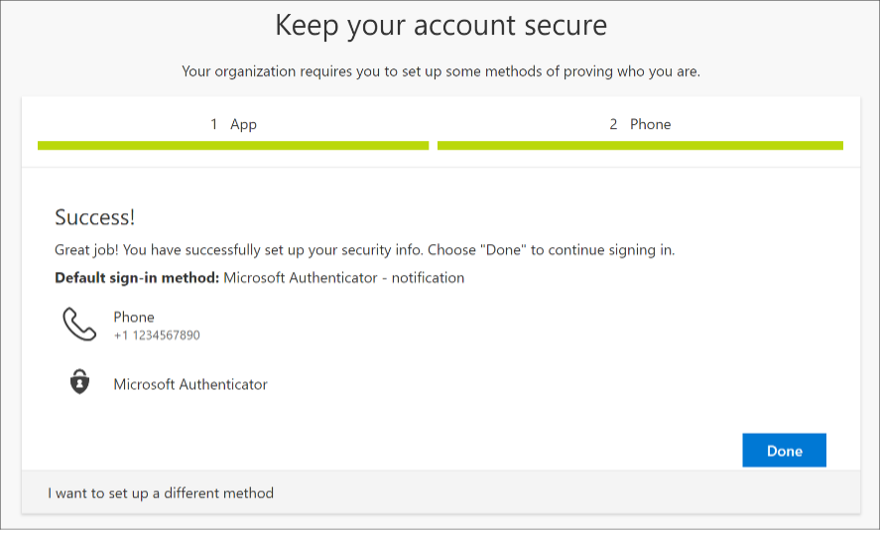
- Review the Success window to verify that you've successfully set up both the Microsoft Authenticator app and a phone (either text message or phone call) method for your security info, and then select Done. If you still need to set up a second (backup) authentication method, select I want to set up a different method.
- Review the success notification, and then select Done.
- All set! Your security info is updated. To change your default notification method, see Change your default security info.
Having issues? Contact the PEMCO Agent Help Line at 1-800-917-3626.