Perspective
Detail your car at home and save
April 25, 2022
by PEMCO Insurance
How can I detail my car at home and save money?
You don’t have to spend a fortune on professional detailing to get your car looking and smelling new again. Instead, spring clean your car with these techniques for removing unwanted bumper stickers, pet hair, mystery odors and more.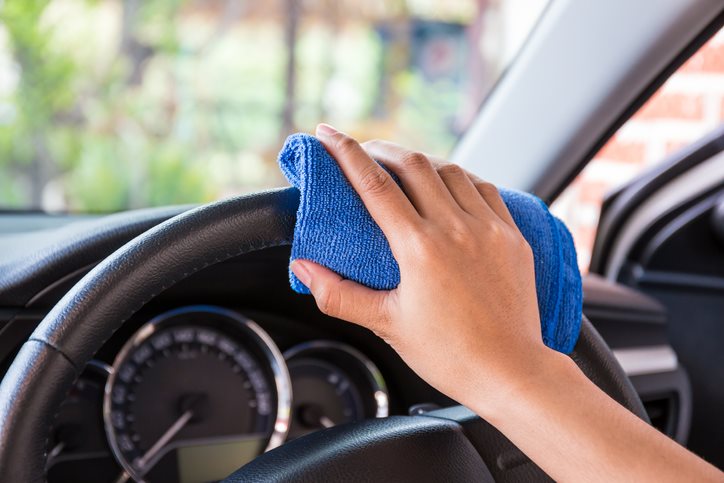 How to detail your car’s interior
Clean the interior first to avoid tracking in water from washing the car (turning dusty floor mats into muddy floor mats).- Remove carpet grime with a stiff, dry brush. Vacuum lightly then scrub with a stiff, dry brush to loosen ground-in grime before vacuuming thoroughly. You may find that shampooing isn’t needed!
- Replace the cabin air filter. Filters clogged with dust, pollen or leaves can be a frustrating source of musty odors – and many people don’t realize their cars have a cabin air filter. Check your owner’s manual for instructions on where to find it (often, behind the glove compartment) and the replacement model needed. If you’re uncomfortable changing the filter, ask your mechanic to do it at your next service. Many manufacturers recommend annual replacement.
- Clean vent grilles and crevices with a dry paintbrush. Dust doesn’t always vacuum out easily, but a clean dry paint or makeup brush removes it quickly.
- Wipe the dashboard and console with a lint-free microfiber cloth or, if you don’t have one, a coffee filter.
- Get streak-free windows. If glass cleaner leaves you with streaks, lightly spritz the window with an equal mixture of white vinegar and water and wipe with dry with a lint-free cloth. Don’t forget to roll down each window slightly so you can get the top that’s hidden by the door frame.
- Remove embedded pet hair from upholstery with damp, bare hands. Lightly wet your hands then rub them over the seats in a circular motion. Pet hair will lift and clump. Now you’re ready to vacuum, shampoo or spot-clean seats.
- Remove lingering dog or car-sickness odor with vinegar and water. Lightly spray but don’t saturate upholstery with an equal mixture of white vinegar and water (first, spot test the cloth for colorfastness in an inconspicuous place). As the vinegar solution dries, the odor will fade. When you’re finished, place an open bowl of baking soda on the floor overnight to further absorb the odor and help the vinegar smell dissipate.
How to detail your car’s exterior
While it may be tempting to pop open the hood and try to clean your engine, that’s a job best left to professionals. There’s still plenty you can do to restore your car to showroom shape:- Start with the wheel wells. That’s the dirtiest part of the car, and you don’t want to save it for last, splashing mud onto clean wheels and fenders.
- Remove unwanted bumper stickers. Put on safety goggles and gloves and saturate the sticker with WD-40 spray oil. Let it soak for a few minutes and gently scrape off the paper bits with an old spatula or credit card. Vinegar works, too, although it may take more patience. With either method, use soap and water or rubbing alcohol to polish away the last of any adhesive residue. Studies have linked bumper stickers with road rage.
- De-fog headlights. If your headlights have grown yellow and hazy with age, try buffing them with ordinary white toothpaste (Colgate is good). The mildly abrasive toothpaste can temporarily cut through the fog without scratching to give you clearer headlights and better visibility. You also can purchase headlight restoration kits at an automotive store.
- Wash in sections, starting at the roof. Hose each section before washing to reduce the risk of scratching. Dip your microfiber cloth or sponge in a sudsy bucket (use soap made for car washing) and wipe gently. Rinse the cloth in another bucket to keep it grit-free and change the water frequently. Hose and dry the section before moving to the next to reduce water spotting.
- Finish with a wax recommended for your car. Park in the shade, work in small sections, use only a thin layer and wipe in straight-lined strokes. Remove the wax with a microfiber cloth. If you’re new to waxing, watch this easy-to-follow 12-minute video from Pan the Organizer.
Share on social media